

01
Walls & ceilings
Clean first, repair defects, dull glossy paint, spot-prime patches, cut in, then roll while maintaining a wet edge.
How-to & advice
Understand the surface, choose the right system, and solve common failures before they cost another weekend.
Application guides
Good paint cannot compensate for dirt, moisture, failed coating, or the wrong primer.
Clean first, repair defects, dull glossy paint, spot-prime patches, cut in, then roll while maintaining a wet edge.
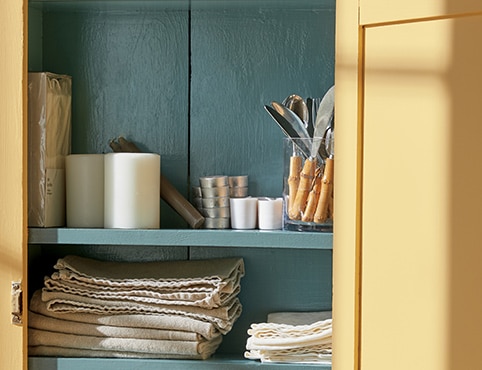
Degrease carefully, scuff-sand the existing finish, remove dust, use a bonding primer where needed, and choose a leveling enamel.
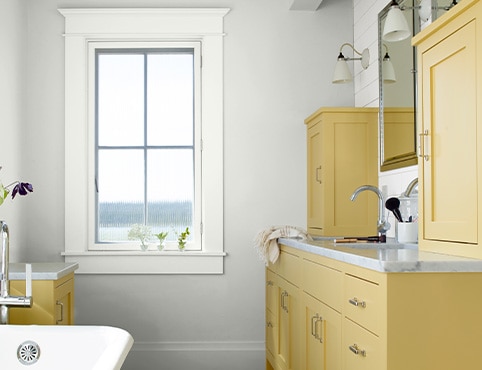
Remove mildew at its source, allow surfaces to dry, use a moisture-resistant coating, and respect the full cure time before scrubbing.
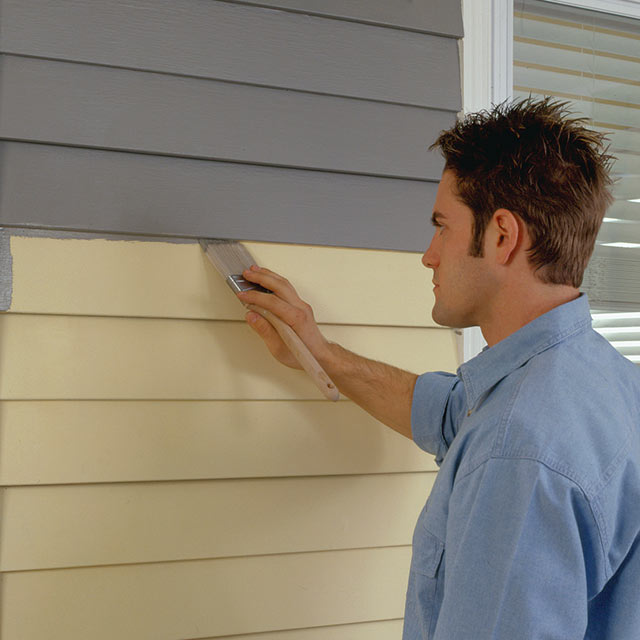
Repair moisture entry, remove failed coating and chalk, prime bare areas, and paint only within the product’s temperature and weather limits.
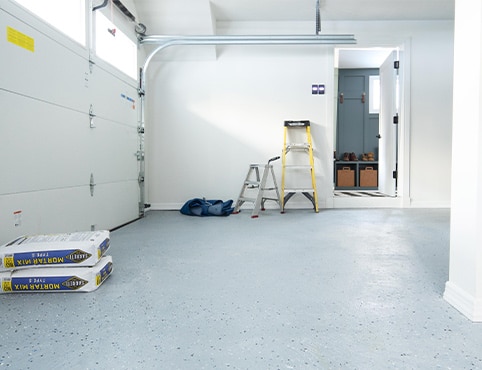
Confirm the substrate is sound and dry, remove sealers and contamination, etch or abrade when required, then observe return-to-service time.
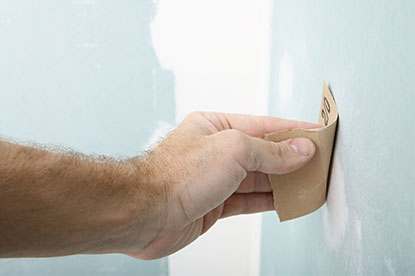
Remove sanding dust, seal porous joint compound uniformly, and use raking light to find ridges or pinholes before the finish coats.
Painting problems
Failures usually begin below the finish coat. Fix the cause first, then rebuild the coating system.
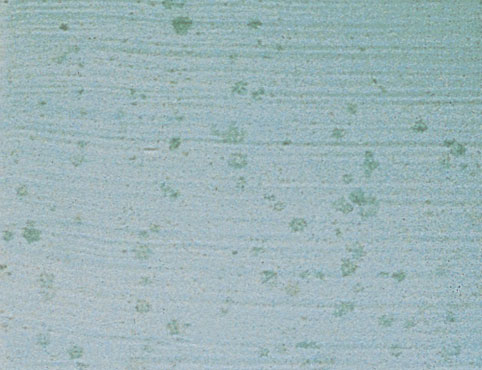
Correct ventilation or moisture first. Clean the growth safely, rinse and dry fully, then use the recommended mildew-resistant system.
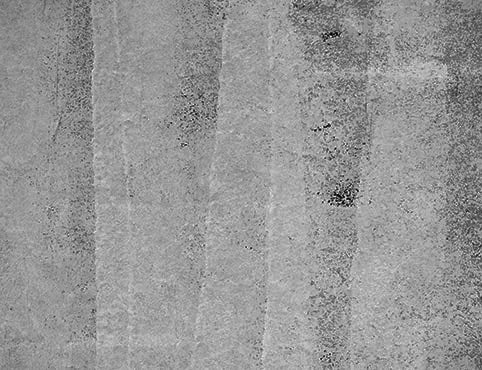
Work in manageable sections, keep a wet edge, maintain consistent pressure and do not overwork paint as it begins to set.
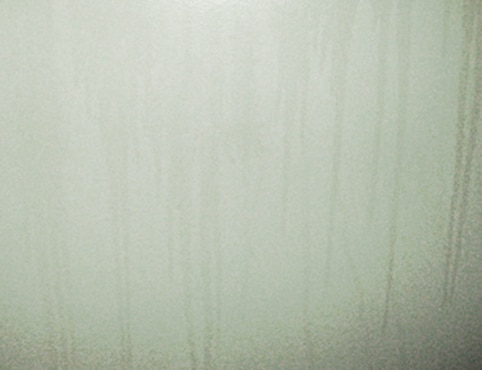
Do not repaint immediately. Allow the coating to cure, wash residue away, and improve ventilation and drying conditions.
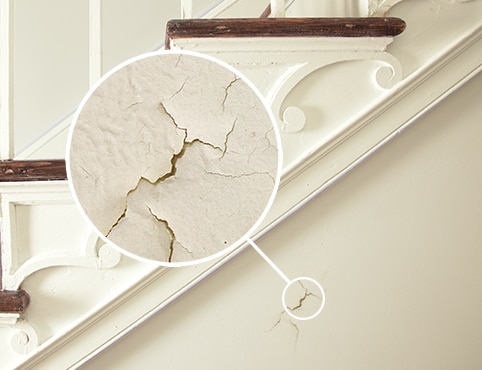
Find the cause—poor adhesion, excess film build or moisture—then remove unsound paint, feather edges, prime and recoat correctly.
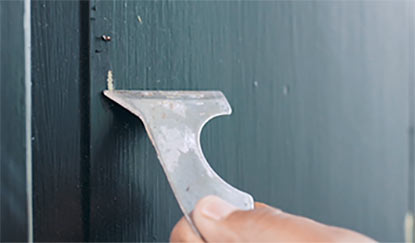
Stop moisture intrusion, remove loose material to a firm edge, clean and dry the surface, then use the substrate-specific primer.
Use the correct tint base, spread at the listed coverage rate, apply a uniform primer when needed and allow full recoat time.
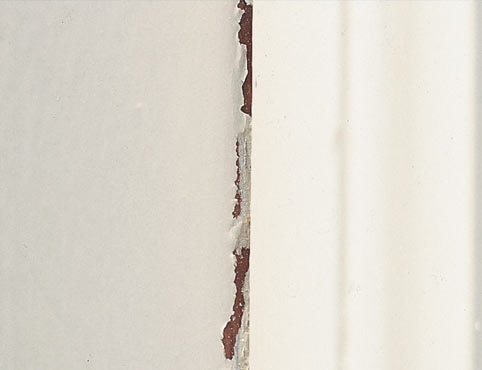
Use a block-resistant enamel, avoid heavy films, allow adequate drying, and wait for cure before closing or stacking painted surfaces.
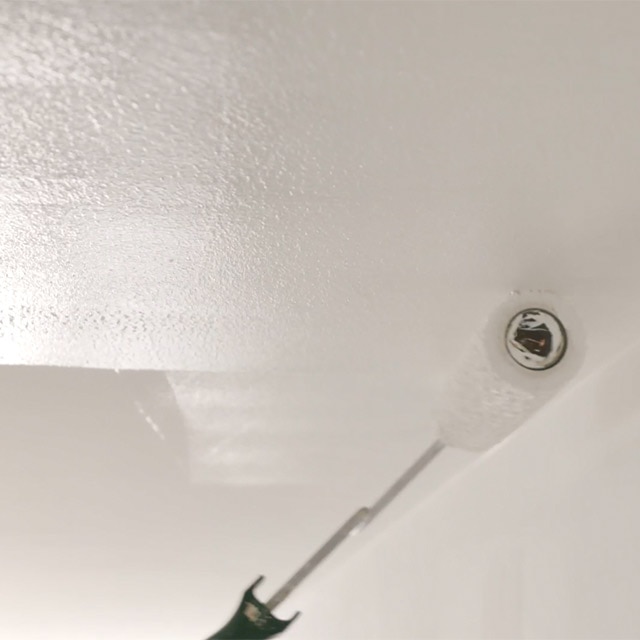
Use the same paint batch and film thickness, cut in one wall at a time, and roll into the still-wet border.
Before opening the can