
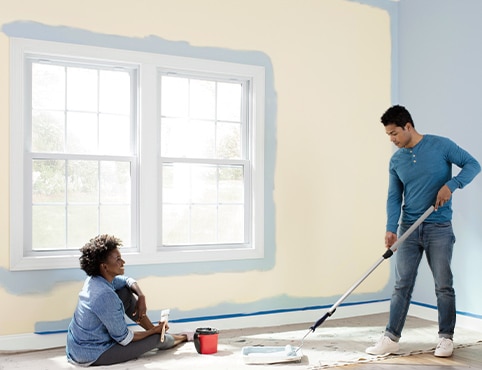
Premium paint can provide exceptional color, hide, and durability, but it cannot disguise an unstable or uneven surface. Preparation controls adhesion, texture, and sheen—the details that make a finished wall look calm and professionally resolved.
Inspect before moving furniture
Look for water staining, mildew, chalking, loose paint, nail pops, open seams, glossy patches, and previous repairs that sit proud of the wall. Identify the cause of moisture or recurring movement before coating; paint is a finish, not a structural repair.
Use raking light from a portable lamp to expose dents and ridges. Mark defects lightly so they remain easy to find after the room is cleared.
Clean, repair, then sand
Remove dust, grease, smoke residue, and soap film with a cleaner appropriate for the surface, then rinse if the product requires it and allow the wall to dry. Kitchens, baths, entries, and areas around switches deserve particular attention.
Fill small holes in thin applications and let each repair dry fully. Feather the edges with fine abrasive paper instead of sanding only the center. Dull glossy paint so the next coat can bond, then vacuum and wipe away sanding dust before primer or paint is applied.
- Protect floors, hardware, and adjacent finishes
- Cut away loose material instead of bridging over it
- Feather repairs beyond the edge of the patch
- Remove dust rather than pushing it into the paint film
Prime for the condition—not by habit
Spot-prime patches so porous compound does not flash through the finish. Prime larger areas when the surface is new drywall, bare material, heavily repaired, stained, very glossy, or changing dramatically in color. Stain-blocking and adhesion primers solve different problems, so the substrate and condition should determine the product.
New drywall needs a primer designed to equalize porosity between paper and joint compound. Bare wood may need sealing and stain control. Existing sound, low-sheen painted walls may only require cleaning and localized priming.
Make the finish coat predictable
Stir paint thoroughly and keep a wet edge. Cut in manageable sections, then roll before the brushed edge dries. Maintain consistent pressure and finish each section in the same direction. Two controlled coats generally produce more even color and sheen than one heavy coat.
Respect the recoat time on the label or technical sheet. Cool temperatures, high humidity, deep colors, and limited ventilation can slow drying. Good preparation deserves an equally patient application schedule.